
Making Rectangles and Squares from Diagonals
Aim
Find, by building, the conditions on the diagonals of a quadrilateral (their lengths, where they meet and the angle between them) that make it a rectangle or a square. This is also called the Carpenter's Problem.
Apparatus
- Two thin wooden or plastic strips, or stiff drinking straws, of equal length (about 8 cm)
- A split pin (paper fastener) or thread to join the strips at their centres
- Thread and four push pins, or a geoboard with rubber bands
- Ruler, protractor and pencil
- Dot grid or graph paper
Procedure
- Mark the midpoint of each equal strip and join them there with a split pin, so they turn freely about O.
- Set the angle between the strips to about 40°. Thread the four endpoints. Measure the sides and angles.
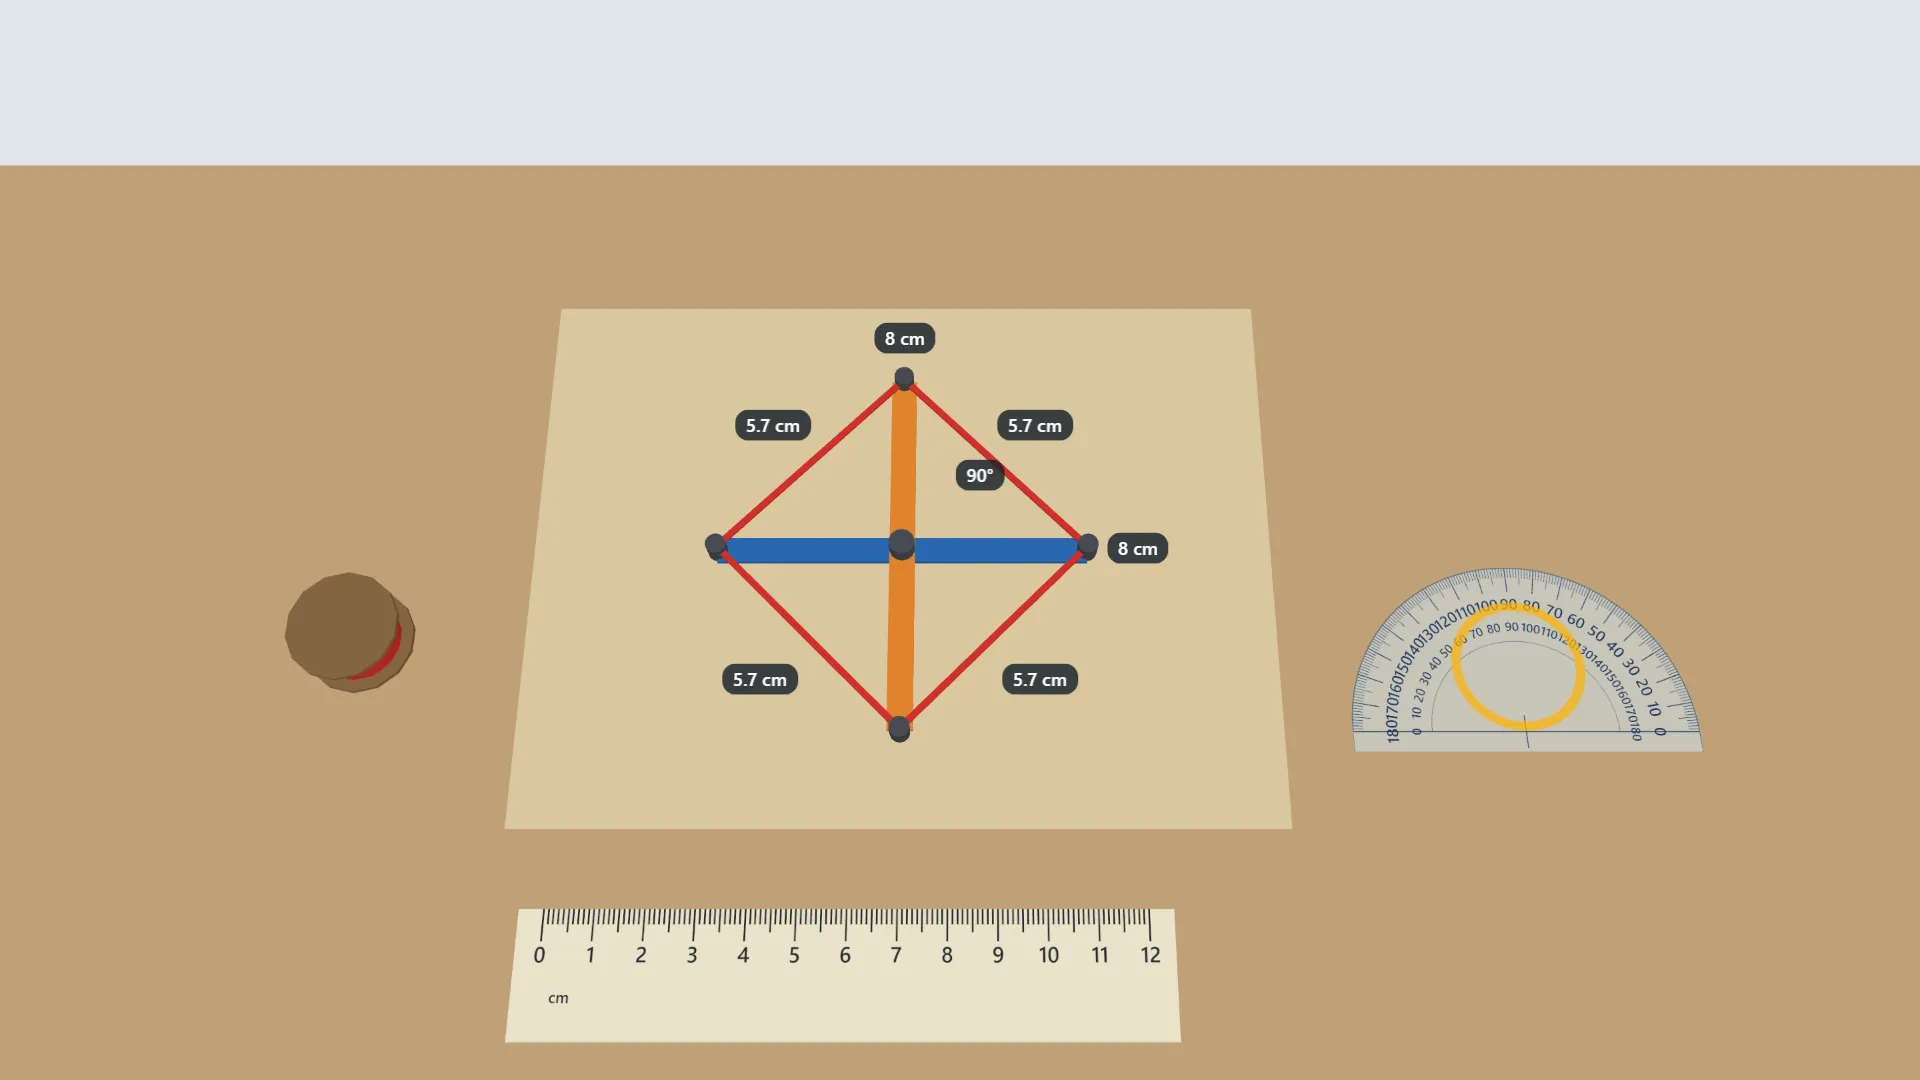
- Turn one strip so the angle between the diagonals is 90°, then 120°. Measure the figure each time.
- Note carefully when the figure is a rectangle and when it becomes a square.
- Use a 6 cm strip for one, so the diagonals are unequal but still bisect. Try an ordinary angle and 90°.
- For every case, record the type of quadrilateral in the observation table.
Interactive 3D Experiment
Loading simulation…
What to observe
- Equal strips joined at their midpoints always make a rectangle, whatever the angle between them.
- When the angle between equal diagonals is 90°, the rectangle becomes a square.
- Unequal diagonals that bisect each other make only a parallelogram, and a rhombus at 90°.
- Diagonals that bisect each other give a parallelogram. Equal ones give a rectangle. Equal ones at right angles give a square.
Notes
- Math Spark: this is a real carpenter's trick. Carpenters in Europe join two equal strips at their midpoints to lay out a perfect rectangular frame, and farmers in Mozambique use the same idea to set out the rectangular base of a house, without a protractor. The diagonals of every rectangle are equal. The diagonals of a square are equal and cross at 90°.
- Measure the strips and mark their midpoints exactly. Even a small error stops the figure from closing into a rectangle.
- The split pin must hold the strips firmly at the joint yet let them rotate. The strips must not slip along each other.
- Keep the thread taut and pinned exactly at the four endpoints, not part-way along a strip.
- Place the centre of the protractor exactly on the joint O when setting or reading the angle between the diagonals.
- Measure all four sides and all four angles before naming the figure. Do not judge by eye.
- Handle push pins with care and press them into a board, not into the desk top.
- Change only one thing at a time, first the angle, then the length, so the cause of each change is clear.