
Building a Model of Mountains, Plateaus and Plains
Aim
To make a simple clay model of the three major landforms — mountains, plateaus and plains — and to compare their relative height, slope and surface features.
Apparatus
- Clay or play-dough (three colours)
- Cardboard base (A3 size)
- Toothpicks or paper flags for labels
- Blue paint or blue paper strips (for a river)
- Ruler
Procedure
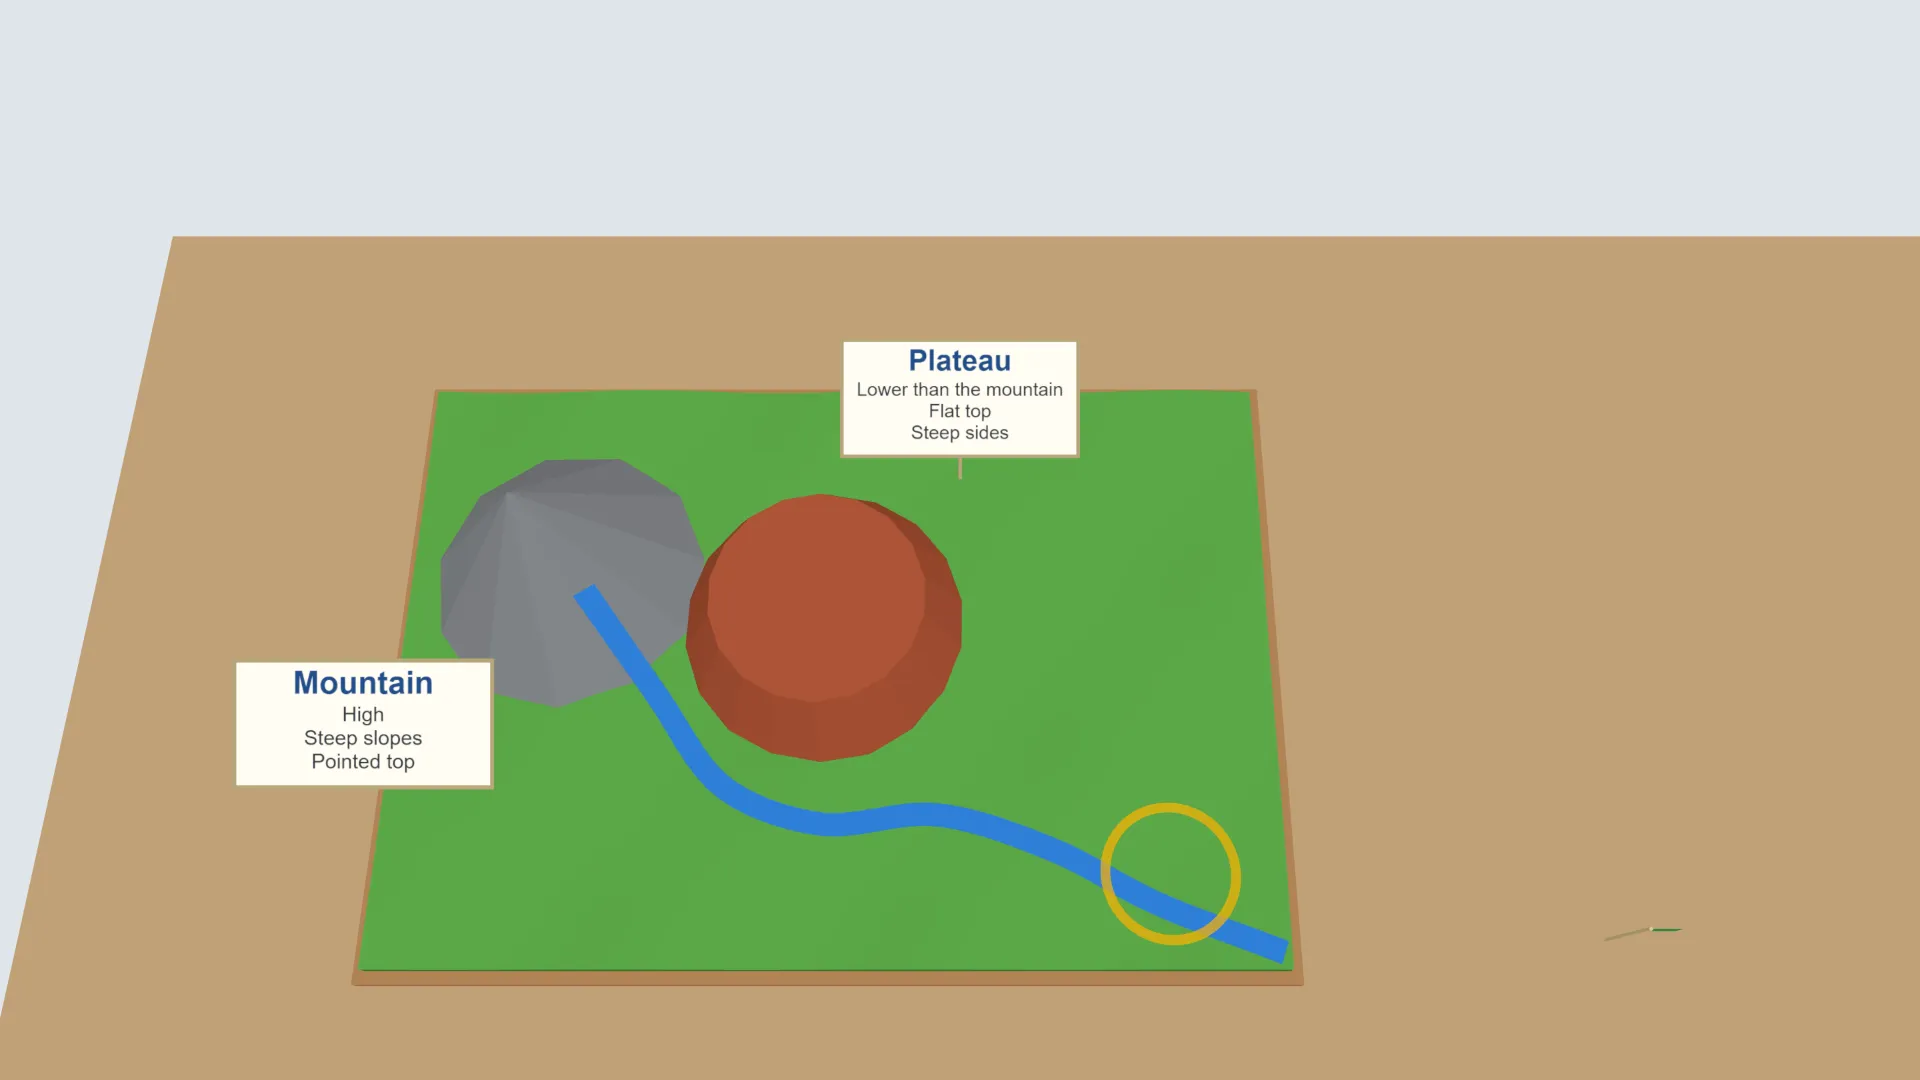
- On one side of the base, mould a tall mountain with a broad base, steep slopes and a narrow, pointed top.
- In the middle, mould a plateau with a flat top and steep sides, clearly lower than the mountain.
- On the remaining space, flatten the clay into a wide, gently undulating plain.
- Lay a thin blue strip from the mountain, past the plateau and into the plain, for a river.
- Label each landform with a toothpick flag and write one feature (height, slope or surface) beside it.
- Compare your model with a classmate's model. Discuss any differences in shape or proportion.
Interactive 3D Experiment
Loading simulation…
What to observe
- The mountain is the highest, with steep slopes and a pointed top.
- The plateau is lower than the mountain, with a flat top and steep sides.
- The plain is the lowest, wide and gently undulating.
Notes
- Mountains, plateaus and plains are not fixed forever! Rivers erode mountains and deposit the sediment further downstream, building up fertile plains over millions of years. This is why plains, such as the Ganga plain, often lie next to major mountain ranges like the Himalayas.
- Keep the work area covered before using clay or dough. Wash your hands after the activity. Handle toothpick labels carefully.