
Where Did the Water Go? — Investigating Evaporation
Aim
Observe that water disappears through evaporation, and find out how the surface area exposed to air affects how fast this happens.
Apparatus
- Science notebook / lab record and pencil
- A shallow bottle cap and a small plate (or two containers of very different width)
- Water and a measuring spoon
- A clock or stopwatch
- A wax crayon or chalk (to mark levels, if using a tumbler)
Procedure
- Pour the same measured amount of water (one tablespoon) into the cap and onto the plate.
- Note that the exposed area of the water is less in the cap and more on the plate.
- Keep both side by side in the same spot, away from disturbance.
- Look every 20 minutes and record the time each takes to dry completely.
- Discuss what we kept the same, what we changed and what we measured.
- Outdoors on a sunny day, put one identical cap in sunlight and another in shade.
- Look every 20 minutes and record which cap dries first.
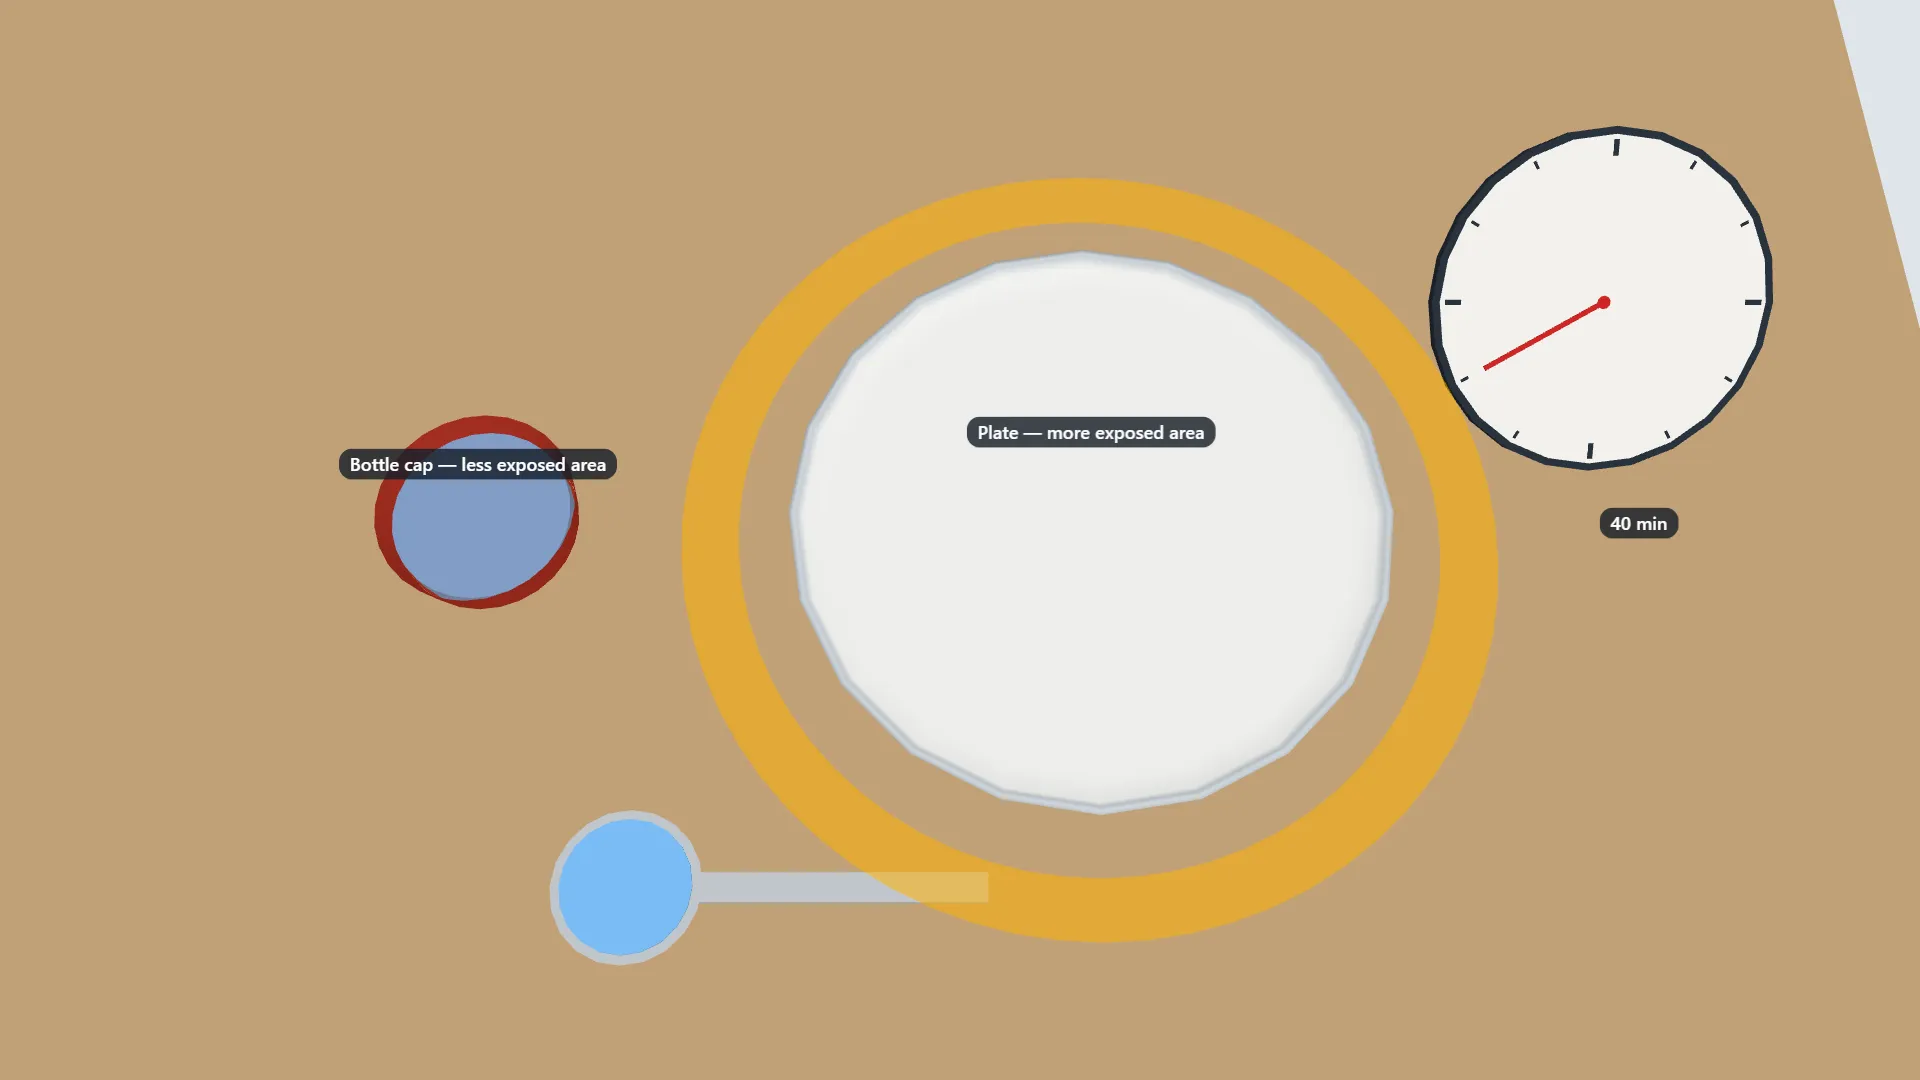
Interactive 3D Experiment
Loading simulation…
What to observe
- Which dries first, the water in the cap or the water on the plate?
- Which dries first, the cap in sunlight or the cap in shade?
- What was the same in every container, and what was different?
Safety
- Measure exactly the same amount of water into both containers and pour slowly.
- Keep the containers on a flat, stable surface, away from notebooks, bags, switchboards and plug points.
- Do not use hot water, a candle, a lamp, a heater or a flame to make the water dry faster.
- Do not fan, blow on, move or touch the containers between readings.
- Do not taste or drink the water. Empty and dry both containers at the end so mosquitoes cannot breed in them.
Notes
- On a hot day a thin puddle can dry up in under an hour, but the same amount of water in a narrow bottle can take days, because far less of it touches the air at once.